Installation
Install PadForge, run it the first time, and set up the optional drivers.
Quick start (2 minutes)
- Download the
win-x64zip from the latest release, for examplePadForge-v4.5.2-win-x64.zip. It holdsPadForge.exeand nothing else. On Windows on ARM, take thewin-arm64zip (preliminary). - Extract the zip to any folder (e.g.
C:\PadForge\). - Run
PadForge.exe. - Approve the one UAC prompt at startup. PadForge needs administrator rights to run.
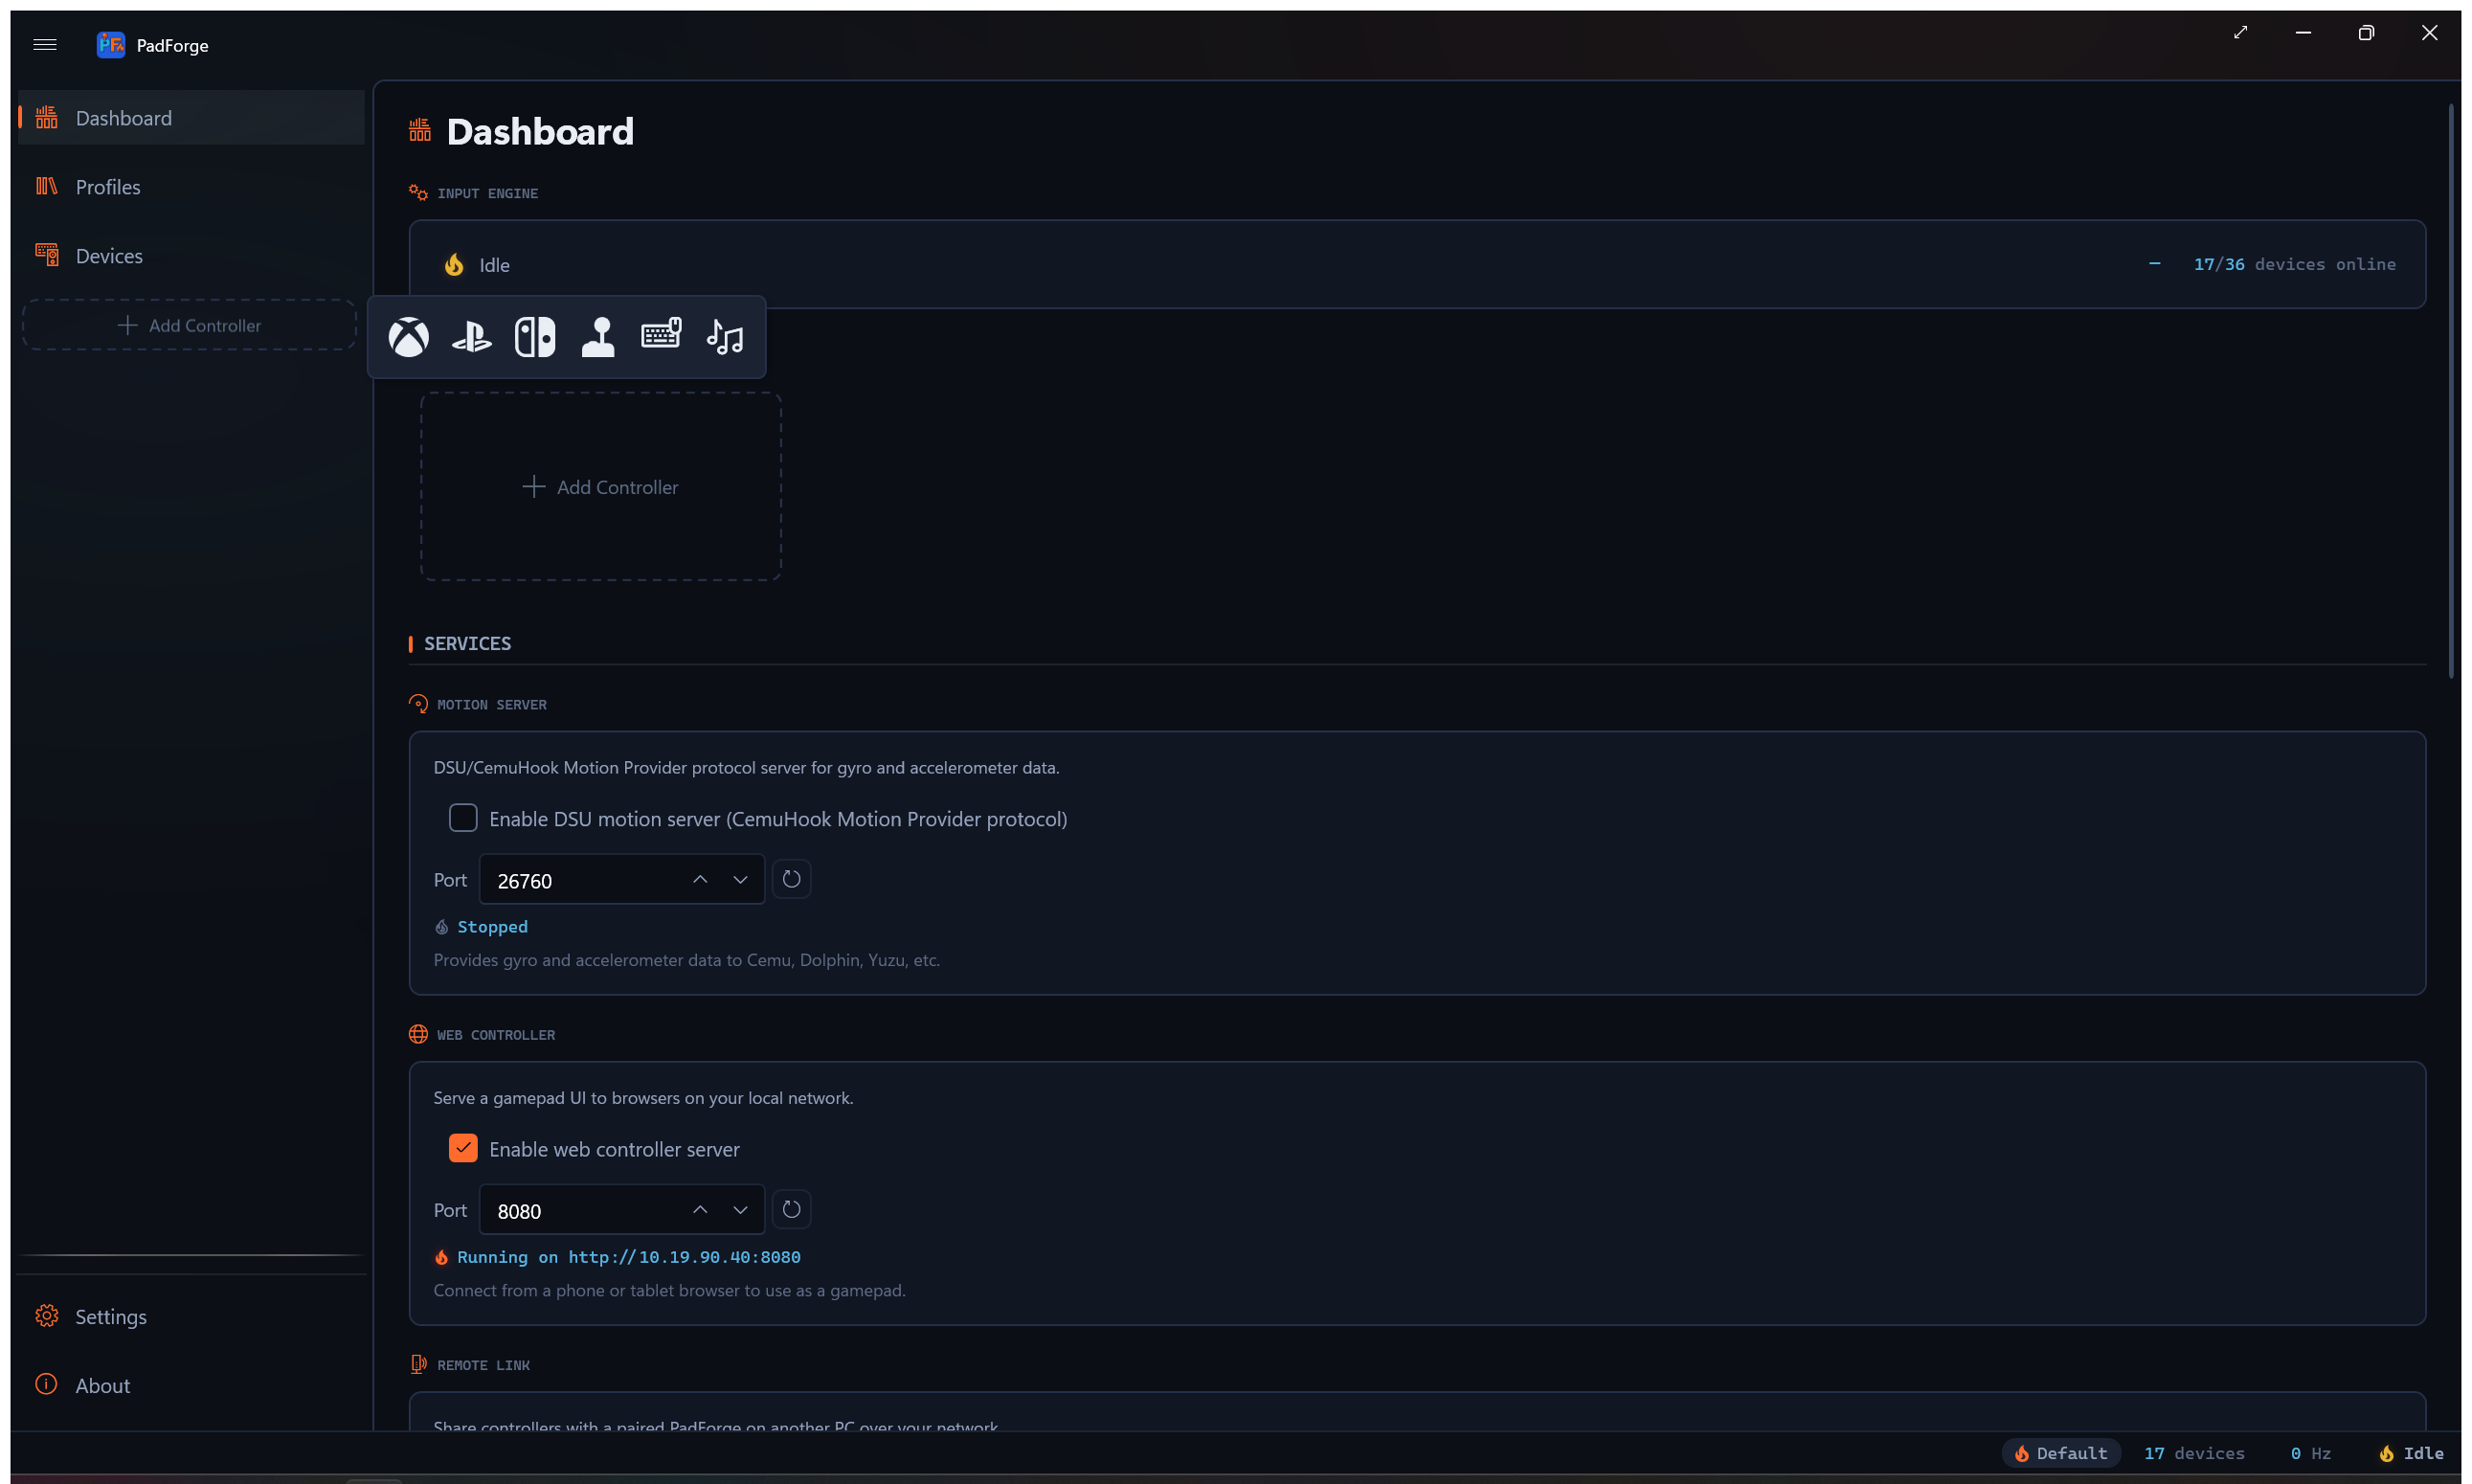
- Back on the Dashboard, click Add Controller and pick a type (Xbox, PlayStation, Nintendo, Extended, Keyboard + Mouse, MIDI, or VR).
- Plug in a physical controller. It appears on the Devices page. Select it, then under Virtual Controller Assignment click the pill for the slot you want it to feed. Assigning the first device to an Xbox, PlayStation, Nintendo, or Extended slot installs HIDMaestro automatically. No button to click.
- Done. Games now see a virtual controller.
Upgrading from PadForge v2? On first launch, PadForge detects ViGEmBus and vJoy and offers to uninstall them. HIDMaestro replaces both.
Requirements
| Requirement | Details |
|---|---|
| OS | Windows 10 or 11 (x64), or Windows 11 on ARM64 (preliminary) |
| Runtime | .NET 10 Desktop Runtime, bundled. No separate install. |
| Format | Portable single-file executable. No installer. Extract and run. |
Settings live in PadForge.xml next to the executable. To move PadForge, move the whole folder.
Windows on ARM (preliminary)
Every release carries a second zip, win-arm64, a native build for Windows 11 on ARM64. It works as the x64 build does: virtual controllers, HidHide, the DualShock 3 Bluetooth driver, Vosk voice recognition and Xbox Elite paddles all run there, each driver installs its ARM64 version, and the Windows MIDI Services setup downloads the ARM64 installer. HidHide, Vosk and Elite paddles joined in 4.5.2.
A few features wait on their vendors, because an ARM64 program can load ARM64 libraries only:
| Feature | In the ARM64 build |
|---|---|
| Razer Sensa HD haptics | Not available. Razer ships no ARM64 engine, and lists Synapse for x86-64 Windows only |
| Logitech G-keys | Not available. Logitech Gaming Software installs x64 and x86 libraries only |
| VR headset and controllers through SteamVR | Not available. PadForge loads SteamVR's win64 library |
| Logitech LIGHTSYNC, OpenXR headset input | Only if the vendor's software installs an ARM64 engine or runtime |
The Sensa status on the Dashboard reads Not Available on ARM64 in the ARM64 build.
The ARM64 build has not run on ARM64 hardware yet.
First launch
PadForge opens the Dashboard after first launch. It shows one UAC prompt at startup because it needs administrator rights. A short welcome tour appears the first time and highlights the main areas. Follow it or skip it, then set things up in this order.
- Create a virtual controller. On the Dashboard, click Add Controller and pick a type. Xbox, PlayStation, Nintendo, Extended (flight sticks, wheels, third-party gamepads, custom HID), Keyboard + Mouse, MIDI, or VR. The VR type stays disabled until SteamVR is installed, and one VR slot is the maximum because it drives both hands.
- Check devices. Open Devices. PadForge auto-detects every connected gamepad, joystick, keyboard, and mouse.
- Assign a device. Select the device on the Devices page, then click a slot pill under Virtual Controller Assignment to route that physical controller through the virtual one. The slot badges on the list cards show what is already assigned; they are not buttons.
Games now see the virtual controller as a standard gamepad.
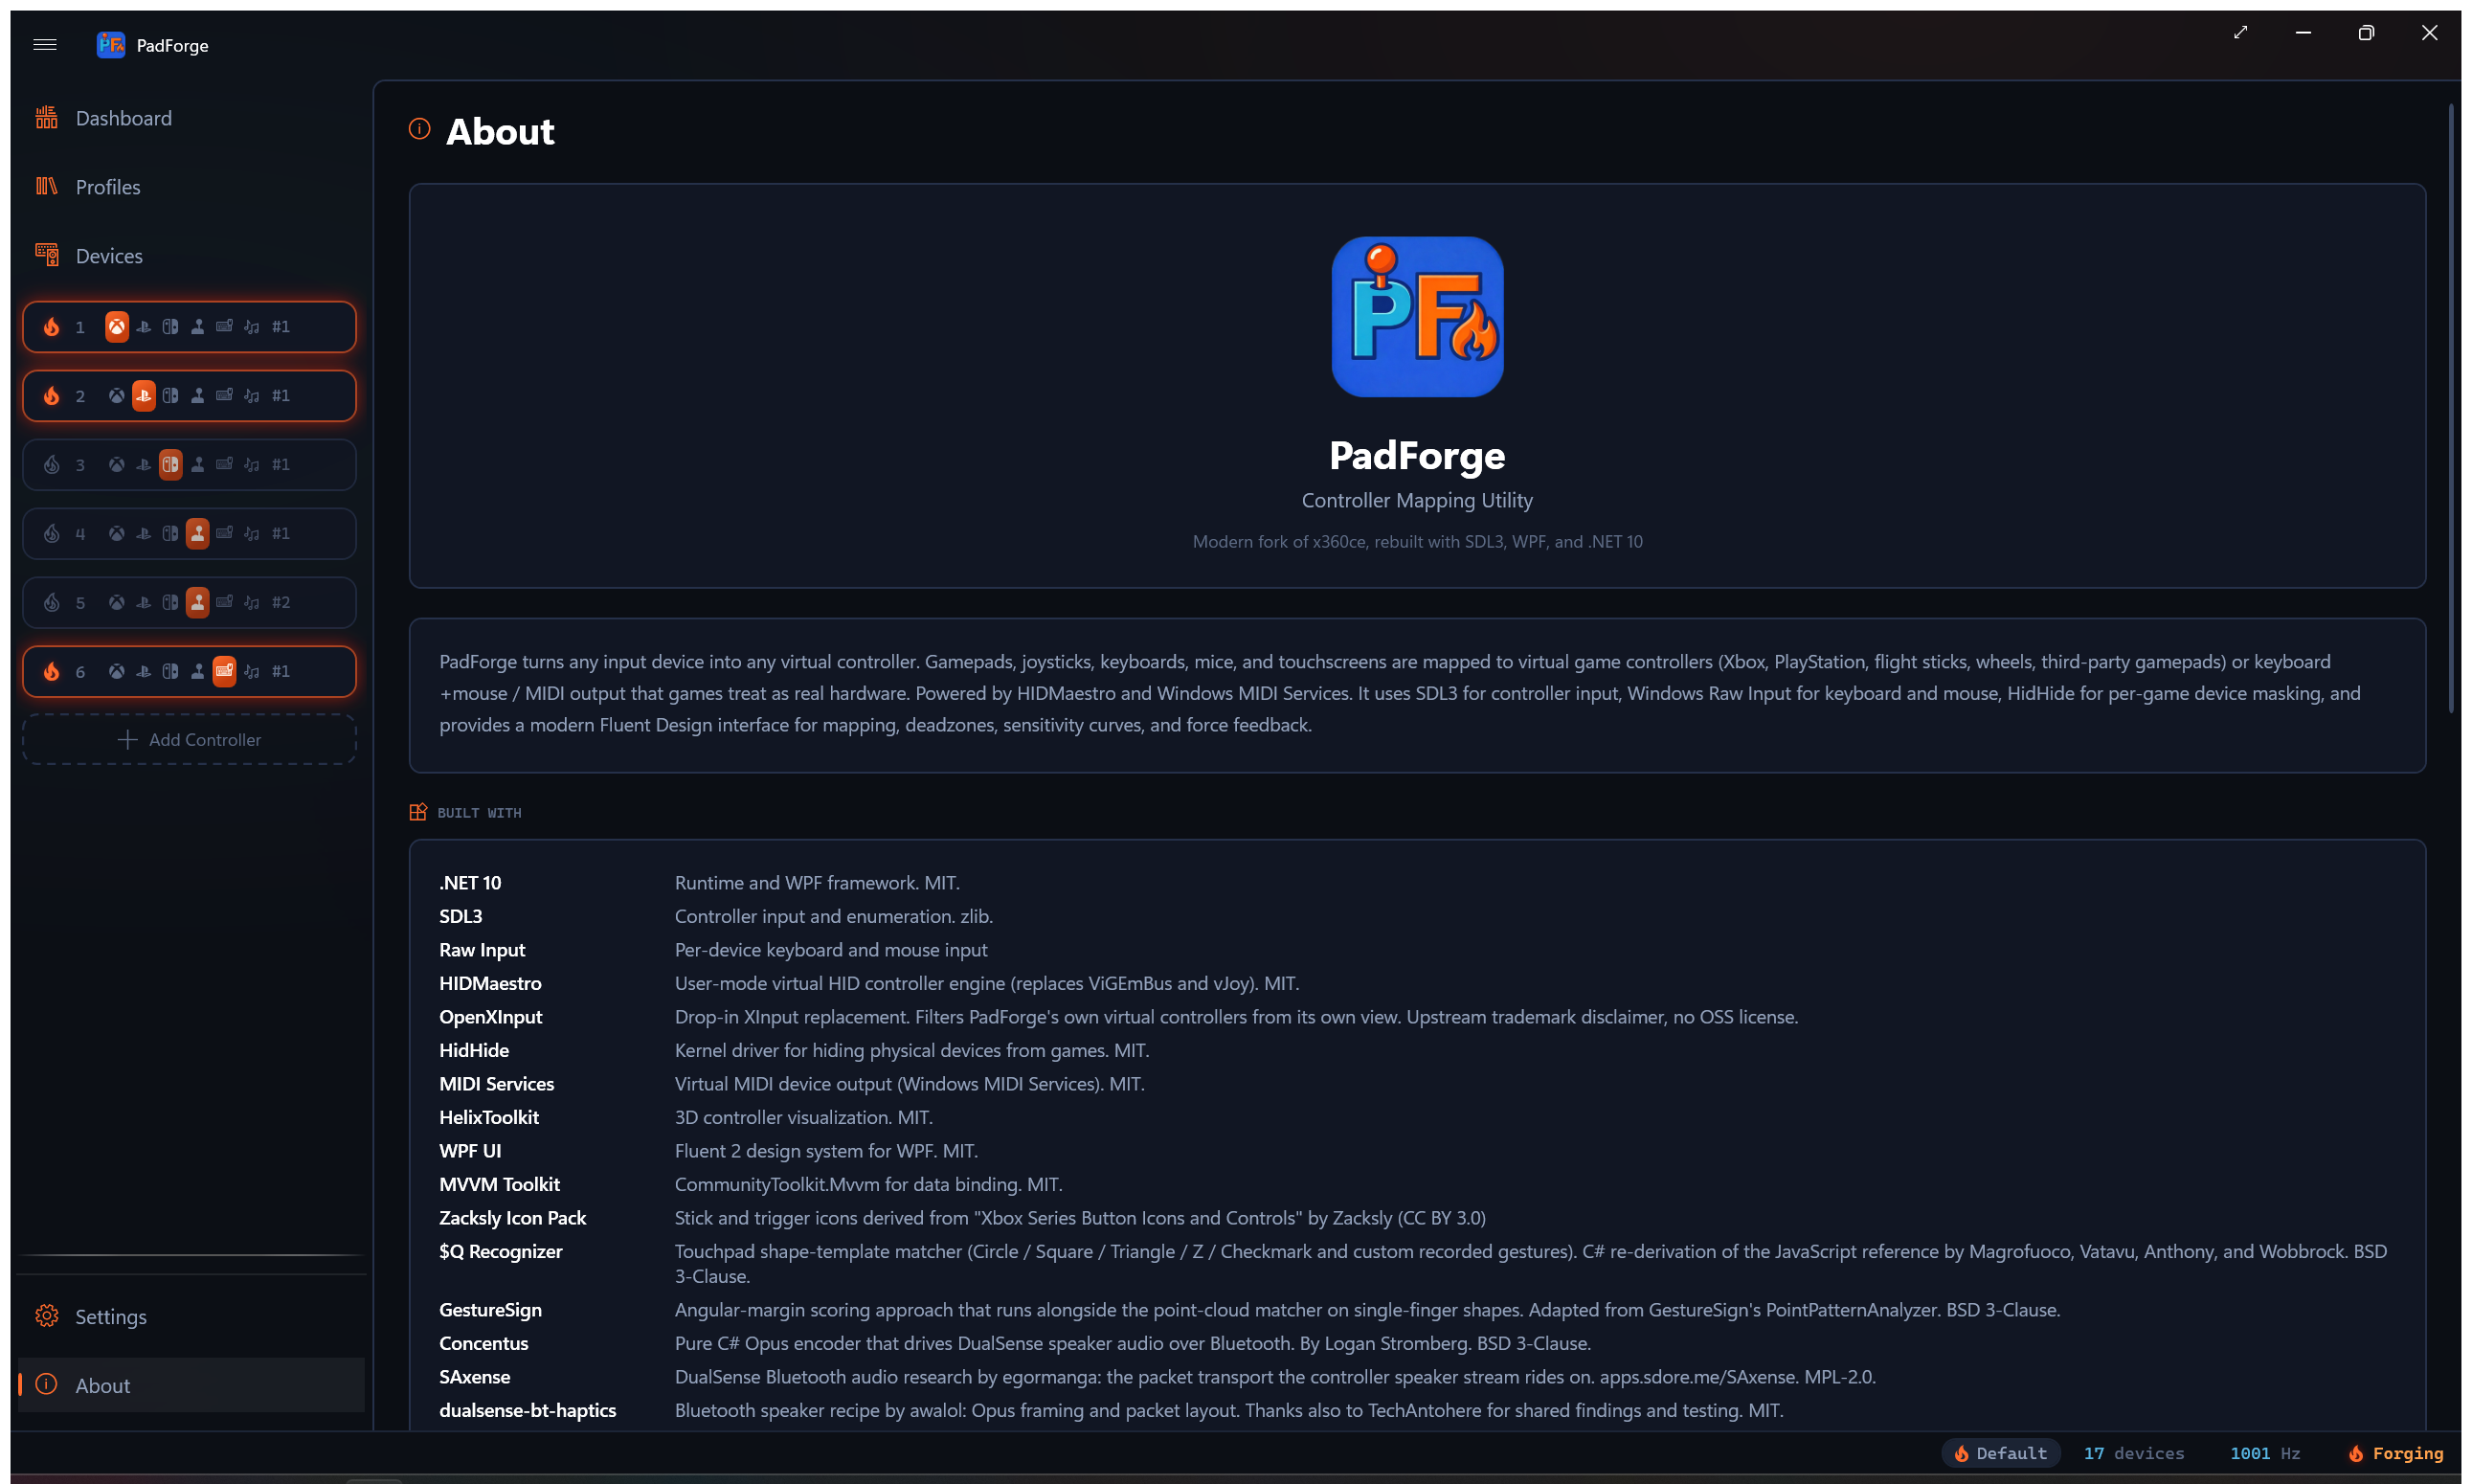
The About page, at the bottom of the sidebar, lists the projects PadForge is built on, along with its license and a short description of what it does. Your app version lives on Settings under Diagnostics > App Version. Note it when filing an issue.
HIDMaestro
HIDMaestro is the user-mode driver that creates the virtual controllers. PadForge needs it for the Xbox, PlayStation, Nintendo, and Extended controller types. Keyboard + Mouse and MIDI use their own paths and do not need it. The VR type rides HIDMaestro's OpenVR driver, which registers itself with SteamVR instead of creating a HID device.
The driver ships embedded in PadForge.exe. It installs automatically the first time an online device is assigned to an Xbox, PlayStation, Nintendo, or Extended slot. Creating the slot alone does not install it, because PadForge only builds the virtual controller once something is feeding it. There's no button to click, and the startup UAC prompt covers it. On the Settings page, the HIDMaestro card always reads Installed and shows the embedded driver version. Neither changes when the first install runs. After that, every Xbox, PlayStation, Nintendo, or Extended slot with an assigned device becomes a fresh HIDMaestro device. Delete the slot and the device disappears. Slots and devices stay 1:1.
The very first launch may need one relaunch
The first time PadForge ever installs HIDMaestro on a PC, the driver can stay inactive until PadForge is relaunched once. The symptom: you add a controller, turn on Hide from Games, and the game sees no controller at all, because the physical pad is hidden and the virtual one is not live yet. Close PadForge and start it again. It does not happen on later launches or on upgrades.
If you upgraded from PadForge v2, HIDMaestro replaces ViGEmBus and vJoy. The legacy driver cleanup dialog on first launch handles uninstalling them.
See HIDMaestro Deep Dive for how PadForge talks to the driver under the hood.
Optional add-ons
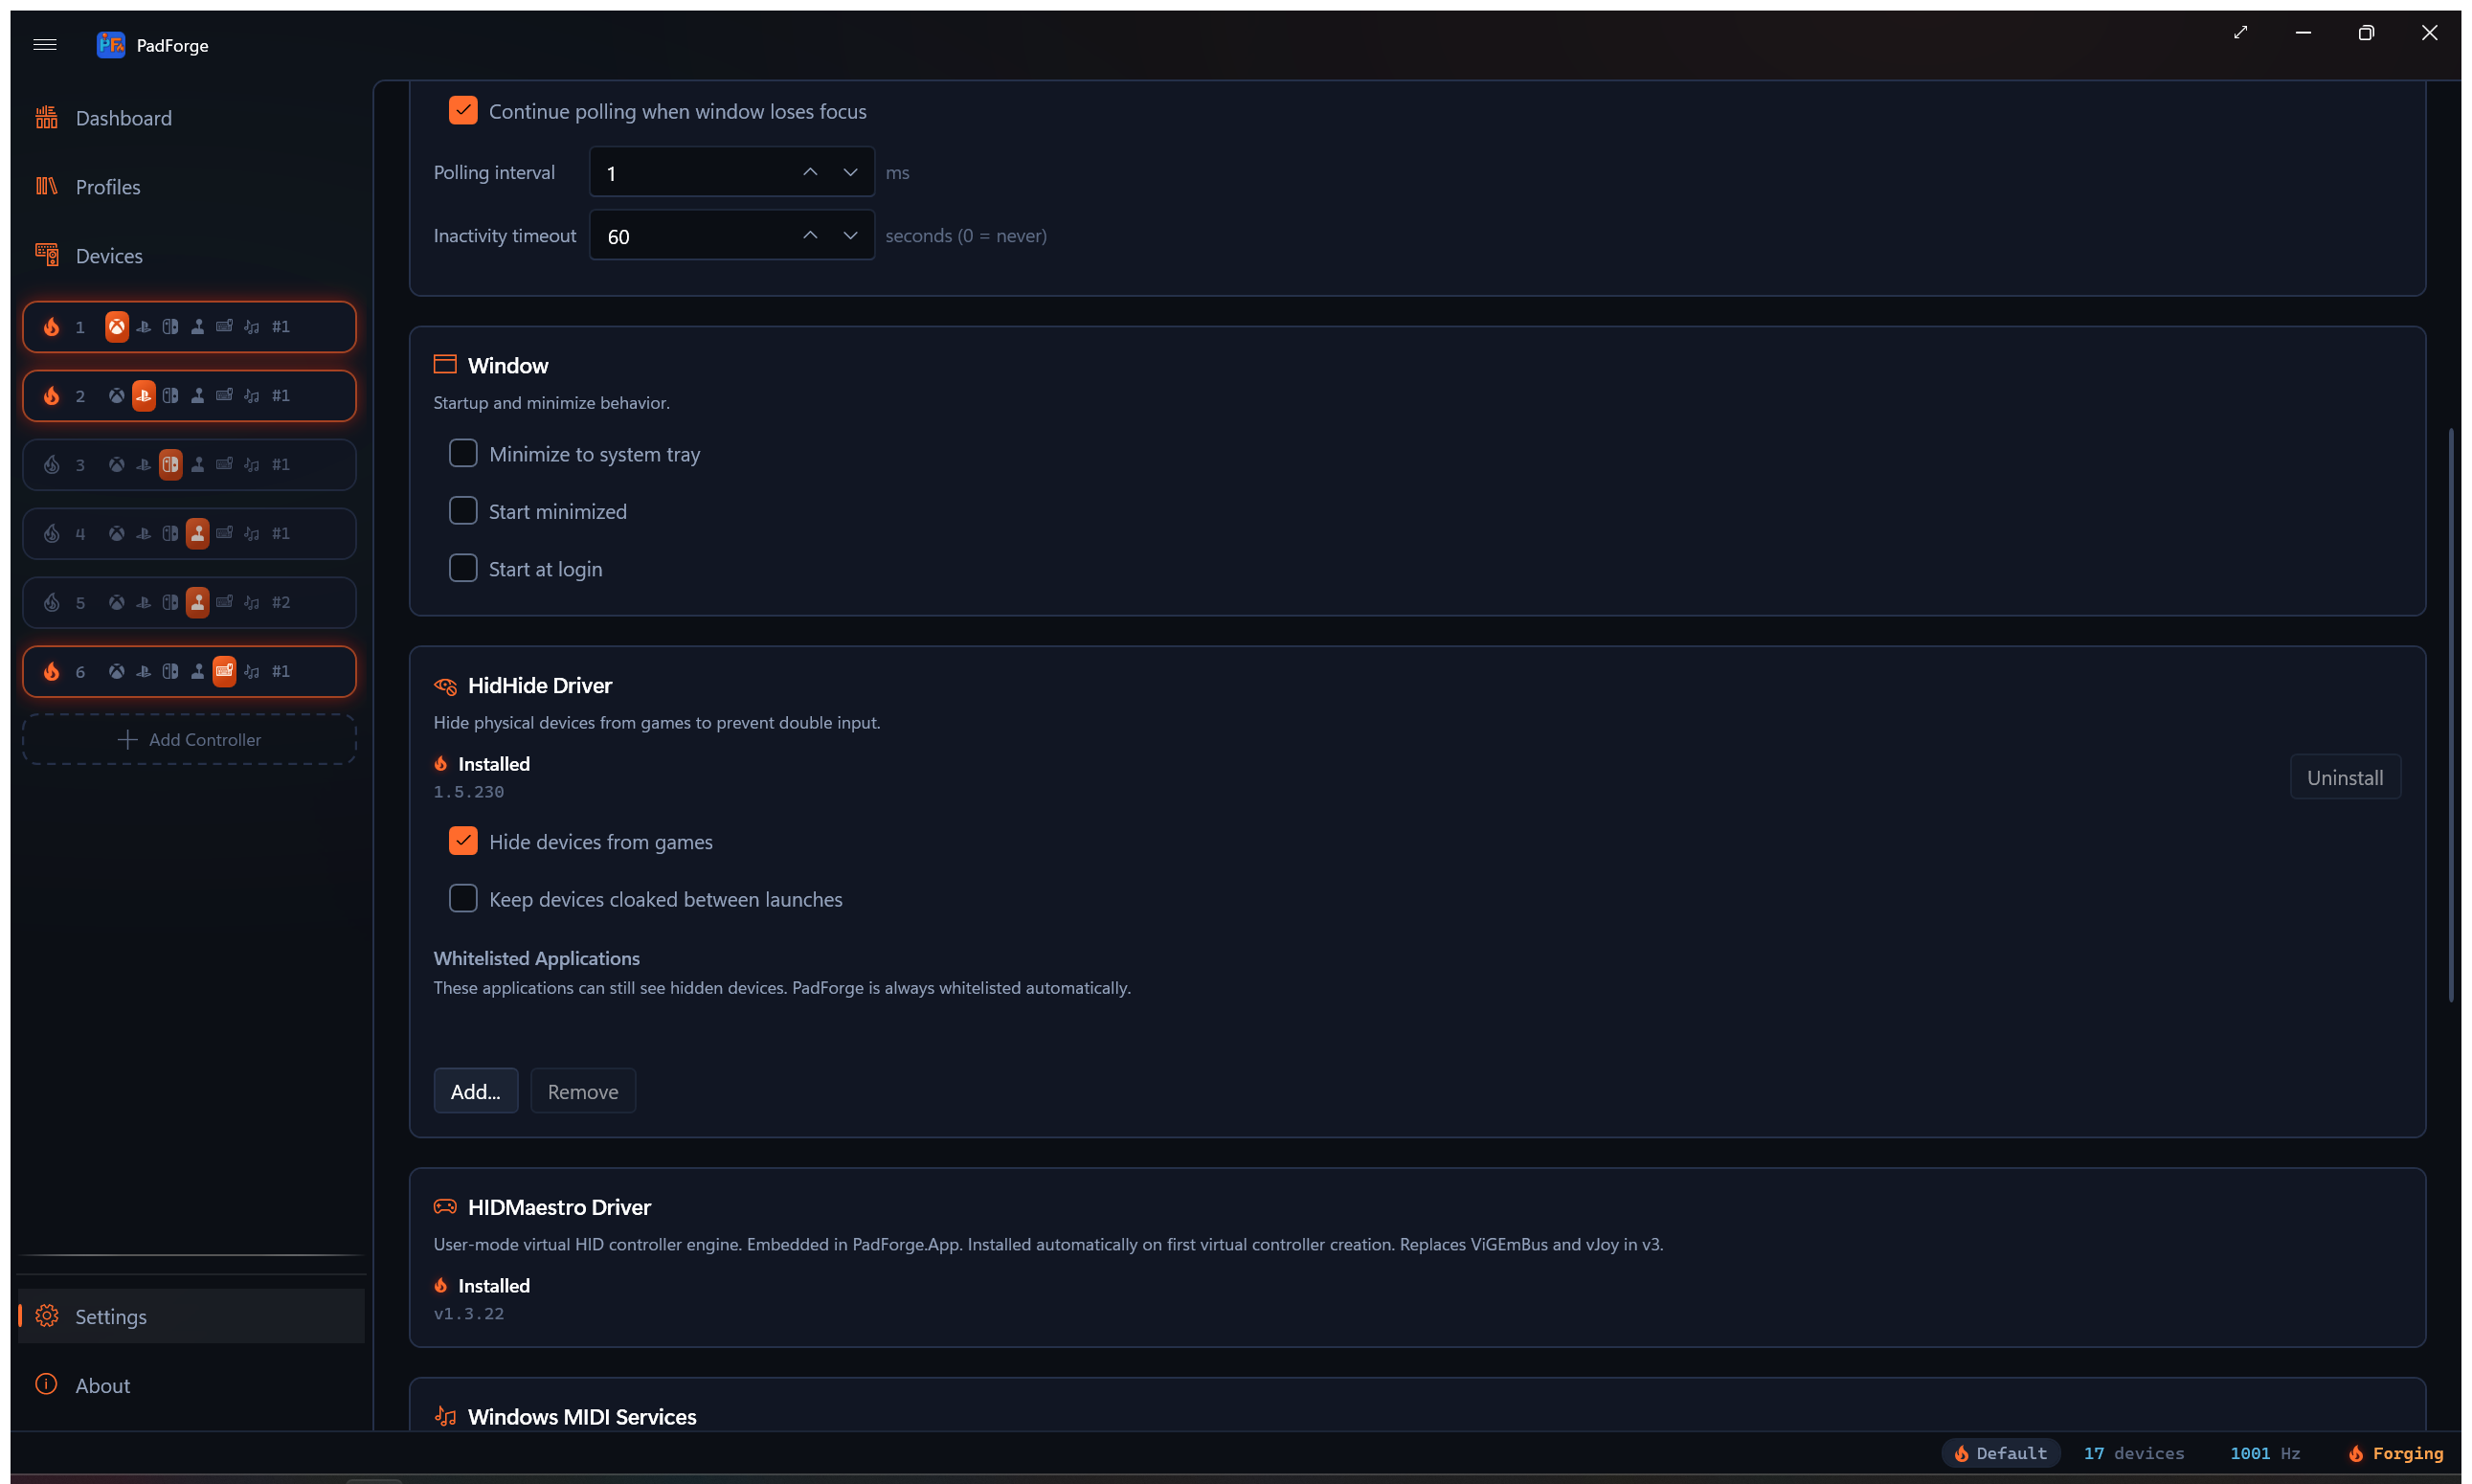
Three optional installs live on Settings. HidHide (1.5.230) is bundled inside PadForge.exe. Windows MIDI Services and SteamVR download on demand. Each card lights its status indicator once installed and swaps its Install button for Uninstall.
One more driver installs outside Settings. Pairing a DualShock 3 over Bluetooth installs the bundled PlayStation Bluetooth driver (BthPS3 and its BthPS3PSM filter) the first time, from the pairing dialog. A PC that never pairs a DualShock 3 never gets it.
HidHide
Hides physical controllers from games so only the virtual ones are visible. Install it if a game sees both your physical pad and the PadForge virtual one at the same time and treats each input twice. Skip it if you do not see double input.
Windows MIDI Services
Creates virtual MIDI endpoints for the MIDI virtual controller type. Install it if you want to send MIDI to DAWs, synthesizers, or VJ tools. Skip it if you do not need MIDI output. Requires Windows 11 24H2 (build 26100) or later. The Install button is disabled on older versions.
SteamVR
The VR runtime the virtual VR controllers need. PadForge installs it straight from Valve's servers, with no Steam account and no Steam client. It is several gigabytes, so pick the Install Location before starting. Skip it unless you want VR slots. Uninstall appears only for the Steam-free install PadForge created. A SteamVR that came with the Steam client belongs to Steam and shows no uninstall.
Keyboard + Mouse
Always on. Maps controller inputs to keyboard keys and mouse moves. No driver required.
OpenXInput
PadForge bundles a build of OpenXInput so it keeps its own virtual controllers out of its own view. Without it, PadForge would try to map a virtual controller through itself. Games and Steam still see the virtual controllers normally. Nothing to install.
Administrator privileges
PadForge needs administrator rights and shows a UAC prompt at startup. HIDMaestro driver registration (automatic, with no in-app uninstall path), HidHide install / uninstall / whitelist edits, and Windows MIDI Services and SteamVR install / uninstall all need administrator access. Reading physical controllers needs it too. Declining the prompt means PadForge does not start.
The UAC shield is on the EXE icon as a hint. PadForge prompts once per launch.
Start at login
Turn on Settings > Window > Start at Login to launch PadForge on sign-in.
To run PadForge silently in the background, turn on all three options.
| Option | Effect |
|---|---|
| Start at Login | Launches PadForge on sign-in. |
| Start Minimized | Skips showing the main window. |
| Minimize to System Tray | Keeps PadForge in the notification area instead of the taskbar. |
With all three on, PadForge runs in the background with only a tray icon.
Uninstalling
There is no installer, so removal is short.
- Open Settings and click Uninstall next to HidHide, Windows MIDI Services, and SteamVR if you installed them. HIDMaestro has no Uninstall button and stays registered.
- Close PadForge.
- Delete the PadForge folder.
If you previously had ViGEmBus or vJoy installed from PadForge v2, the legacy driver cleanup dialog on first launch removes them for you.
Related pages
- Settings: install and manage optional drivers.
- Dashboard: main control panel after first launch.
- Devices: view detected physical controllers.
- Controller Slots: create and configure virtual controllers.
- Driver Management: detailed driver information.
- HIDMaestro Deep Dive: how PadForge talks to HIDMaestro under the hood.
Last updated for PadForge 4.5.2.